Showing posts with label Homemade. Show all posts

Wednesday, February 13, 2013

Valentines Day Series: DIY Chocolates

Hey Everyone,
If your looking for a last minute valentines gift for a loved one this is a great idea, something that's quick easy and homemade! I would of liked to make heart chocolates, I went to Ikea but their heart ice cube trays had sold out. Instead I got the star tray which are still nice (and slightly less girly I suppose)! 
What you will need:
1. Chocolate (of your choice)
2. Any filling (Raisins, fruit, honeycomb etc...)
3. Bain-Marie (Bowl on top of a sauce pan of hot water)
4. Mixing spoon
5. Silicon Ice cube tray (Ikea do great shaped ones)
6. Container and decoration

Follow these instructions to make your own chocolates:
Step 1:
 Melt your chosen chocolate in a bowl over hot water (be super careful use a bowl suitable for this... that can take the heat, and if your young get an adult to help!)
Step 2:
 Add in any extras like fruits or a great idea is a mashed up crunchie bar! (I'm folding in a milk chocolate to get a marbled effect!)
Step 3: 
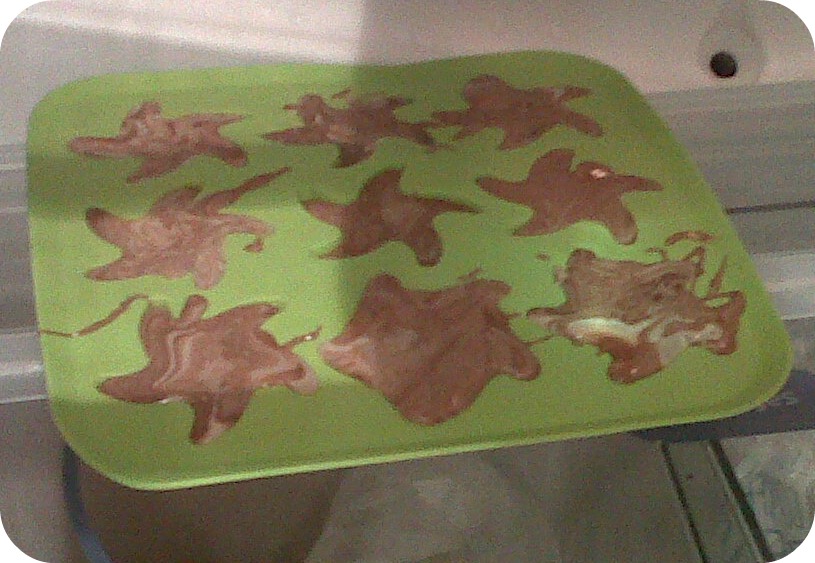
Pour into mold (I'm using a silicone ice cube tray) You may need to repeat the process if you have excess chocolate but only have one set of molds!
Step 4:
 Leave to fully cool and set in the fridge
Step 5:
 Once cooled you can pop the chocolates out and put into a container
Step 6:
 Decorate- (If your wrapping in clingfilm something simple like a ribbon looks pretty!)
I'm putting mine into a jar, covering lid with fabric and then tying on a ribbon!

Other Posts From My Valentines Series:


Finished and Ready to enjoy! What do you think of the homemade chocolates?

Wednesday, February 6, 2013

Hey Everyone,
Today's post is the next in my valentines series...and it is another DIY! This time my DIY addiction has taken me into jewelry making, and this post should show you how to make a cute necklace from some nail varnishes and an old key!
What you will Need:
1. An Old Key (obviously one you don't use!)
2. A Ribbon Or Chain
3. Nail Varnish Colours Of Your Choice, Or Paint 
4. Clear Top Coat 
Follow these steps to make your own key necklace:
Step 1:
Find an old key (obviously one that you don't use anymore!) and give it a quick clean with washing up liquid to remove any residue  
Step 2:
Put down some tissue or newspaper to protect the table, then begin to paint your key
Step 3: 
If your creating an Ombre key like mine use a clear nail varnish to blend or water if your  using paint 
 Step 4:
Complete first coat and hang to dry! (You are probably going to have to do a couple of coats to get the key looking like enamel)
  Step 5: 
Layer up as many coats as you need but don't forget to blend if your creating an ombre effect, and leave the key to dry properly to stop any smudging!
Step 6: 
Once dry apply one top clear coat to seal all the colours, once dry you can hang your key on a chain or ribbon of your choice!
Optional:
You could do any colours, keeping it classically valentines themed with pink/red, creating patterns or heart, or even using glitter!

Other Posts From My Valentines Series:

What do you think of the DIY Key To My Heart Necklace?